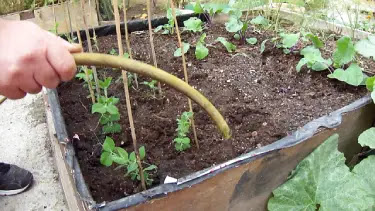
Are you looking to add some fresh, homegrown produce to your diet? Look no further than English peas! These sweet and flavorful peas are a staple in many gardens, and they're easy to grow at home. In this guide, we'll go over everything you need to know to get your pea plants off to a great start.
Step 1: Choose Your Pea Seeds
Click the video below to see how it's done!
Step 2: Prepare Your Garden Bed
Step 3: Plant Your Seeds
Now that your garden bed is prepared, it's time to plant your seeds. Peas should be planted about 1 inch deep and 2-3 inches apart. They can be planted in rows or blocks.
Step 4: Water and Fertilize
After planting, be sure to water your peas thoroughly. They'll need to be kept consistently moist throughout the growing season. Peas also benefit from a light application of fertilizer or compost every 4-6 weeks.
Step 5: Support Your Plants
As your peas grow, they'll need support to keep them from falling over. You can use a trellis, stake, or even a string to keep your plants upright.
Step 6: Harvest and Enjoy
In about 60-70 days, your peas will be ready to harvest. Pick them when they're plump and bright green. You can eat them fresh or frozen for later use.
Growing your own English peas is a fun and rewarding experience. With a little care and attention, you'll be enjoying sweet, homegrown peas in no time.
Check out this video on "How to Grow Peas at Home | Growing English Peas From seed" on YouPlantTube channel to see the process in action
Click the video below to see how it's done!
Happy gardening from YouPlantTube


.webp)
Comments
Post a Comment