A
re you looking for a simple, cost-effective and space-saving solution for your home garden? Look no further! In this post, we will show you how to create a beautiful vertical garden using a recycled water bottle. Whether you have limited space in your urban garden, terrace or balcony, this water bottle planter will help you make the most of your gardening space. So let's get started!
You can also watch the step-by-step video provided below
Step 1: Gather Your Supplies
You will need:
A large, clear water bottle
- A drill
- White paint
- Scissors or a knife
- Organic compost and soil
- Seedlings of your choice
Step 2: Prepare the Water Bottle
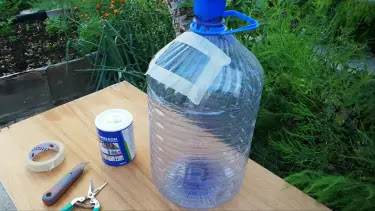
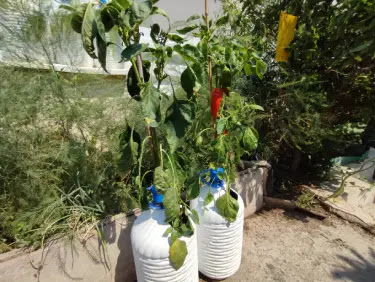
Use the drill to make holes in the bottom of the water bottle for drainage. Cut a square hole in the top of the bottle and remove the cap. Then, paint the entire bottle with white paint to keep the roots of your plants cool in the sunlight.Add a layer of organic compost and soil to the bottom of the bottle. Fill the bottle almost to the top with soil and place your seedling in the center. Fill the rest of the bottle with soil, being sure to pack it down around the seedling.
Water your seedling, being careful not to over-water. Place the bottle or hang it in a sunny location. Continue to water your seedling as needed and watch it grow into a beautiful vertical garden.
Creating a vertical garden with a recycled water bottle is an easy, eco-friendly and space-saving solution for your home garden. With this simple DIY project, you can bring a touch of green to your urban garden, terrace or balcony, no matter how limited your space may be. Give it a try and start your epic gardening journey today!
Click the video below to see how it's done!


%20(1).webp)
Comments
Post a Comment